Rubber Mulch Installation Services Overview
Visitors can learn about rubber mulch installation services and compare local contractors who handle the work.
- - Residential property owners seeking to enhance backyard safety and aesthetics with durable rubber mulch installations.
- - Playground and recreational area managers looking for reliable local contractors to install impact-absorbing rubber mulch.
- - Landscaping and outdoor design professionals needing trusted service providers for rubber mulch installation projects.
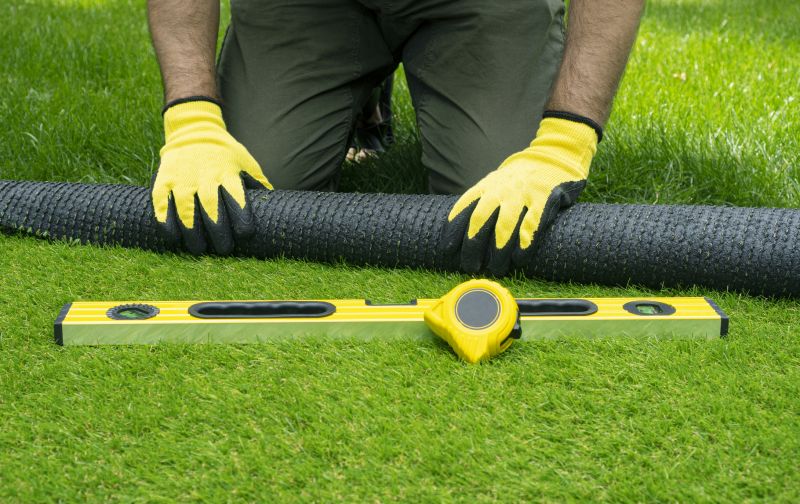

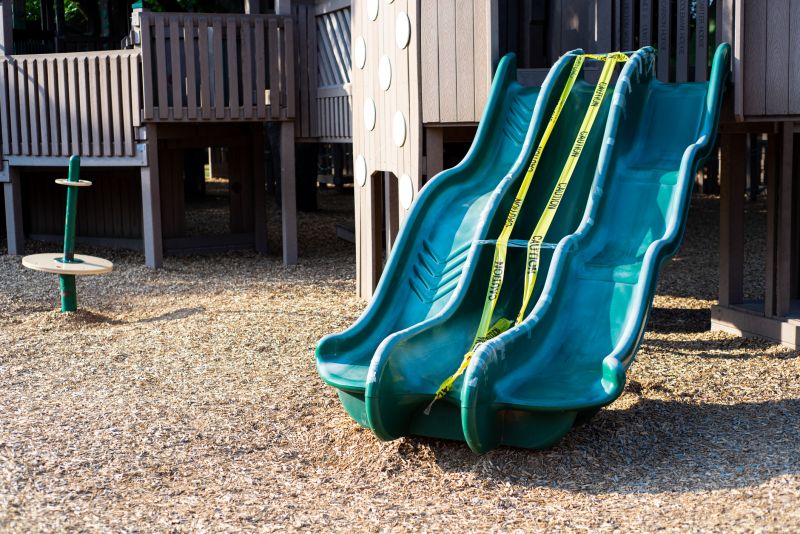
Rubber mulch installation is a popular choice for creating safe, durable, and visually appealing surfaces around playgrounds, sports areas, and landscaping projects. Local contractors specializing in this service typically handle tasks such as preparing the existing ground, spreading and leveling the rubber mulch, and ensuring proper coverage for safety and aesthetic purposes. Property owners often seek out these professionals to help enhance outdoor spaces with a low-maintenance, impact-absorbing surface that can withstand regular use and weather conditions.
Connecting with experienced local service providers can simplify the process of selecting the right rubber mulch installation for specific needs. These contractors bring knowledge of different types of rubber mulch, installation techniques, and site-specific considerations. Whether for residential yards, school playgrounds, or community parks, property owners can expect to work with local pros who understand the requirements of each project and can deliver a functional, attractive surface tailored to the space.
Rubber Mulch Installation Services
Learn about different local contractors who specialize in rubber mulch installation to compare their offerings and expertise.
Benefits of Comparing Local Contractors
This guide provides helpful information to compare and evaluate local contractors who specialize in rubber mulch installation. It assists in understanding key factors to consider when planning a project involving rubber mulch surfaces. By exploring this resource, visitors can better prepare to share project details with nearby service providers.